Thank you for purchasing a Papelchemy Pattern! With this pattern you will be able to create as many objects as you want! But, how exactly?
In this post, I will show you how you can create your own terrain with the template you purchased, or any of the free templates I offer in my Patreon.
The first thing you have to have in mind is the paper's weight. Most of the crafts here were designed to be printed in letter sized 80 lb weight or 120 gsm paper. This paper is thicker than the one we usually use at home to print documents, so have in mind before printing!
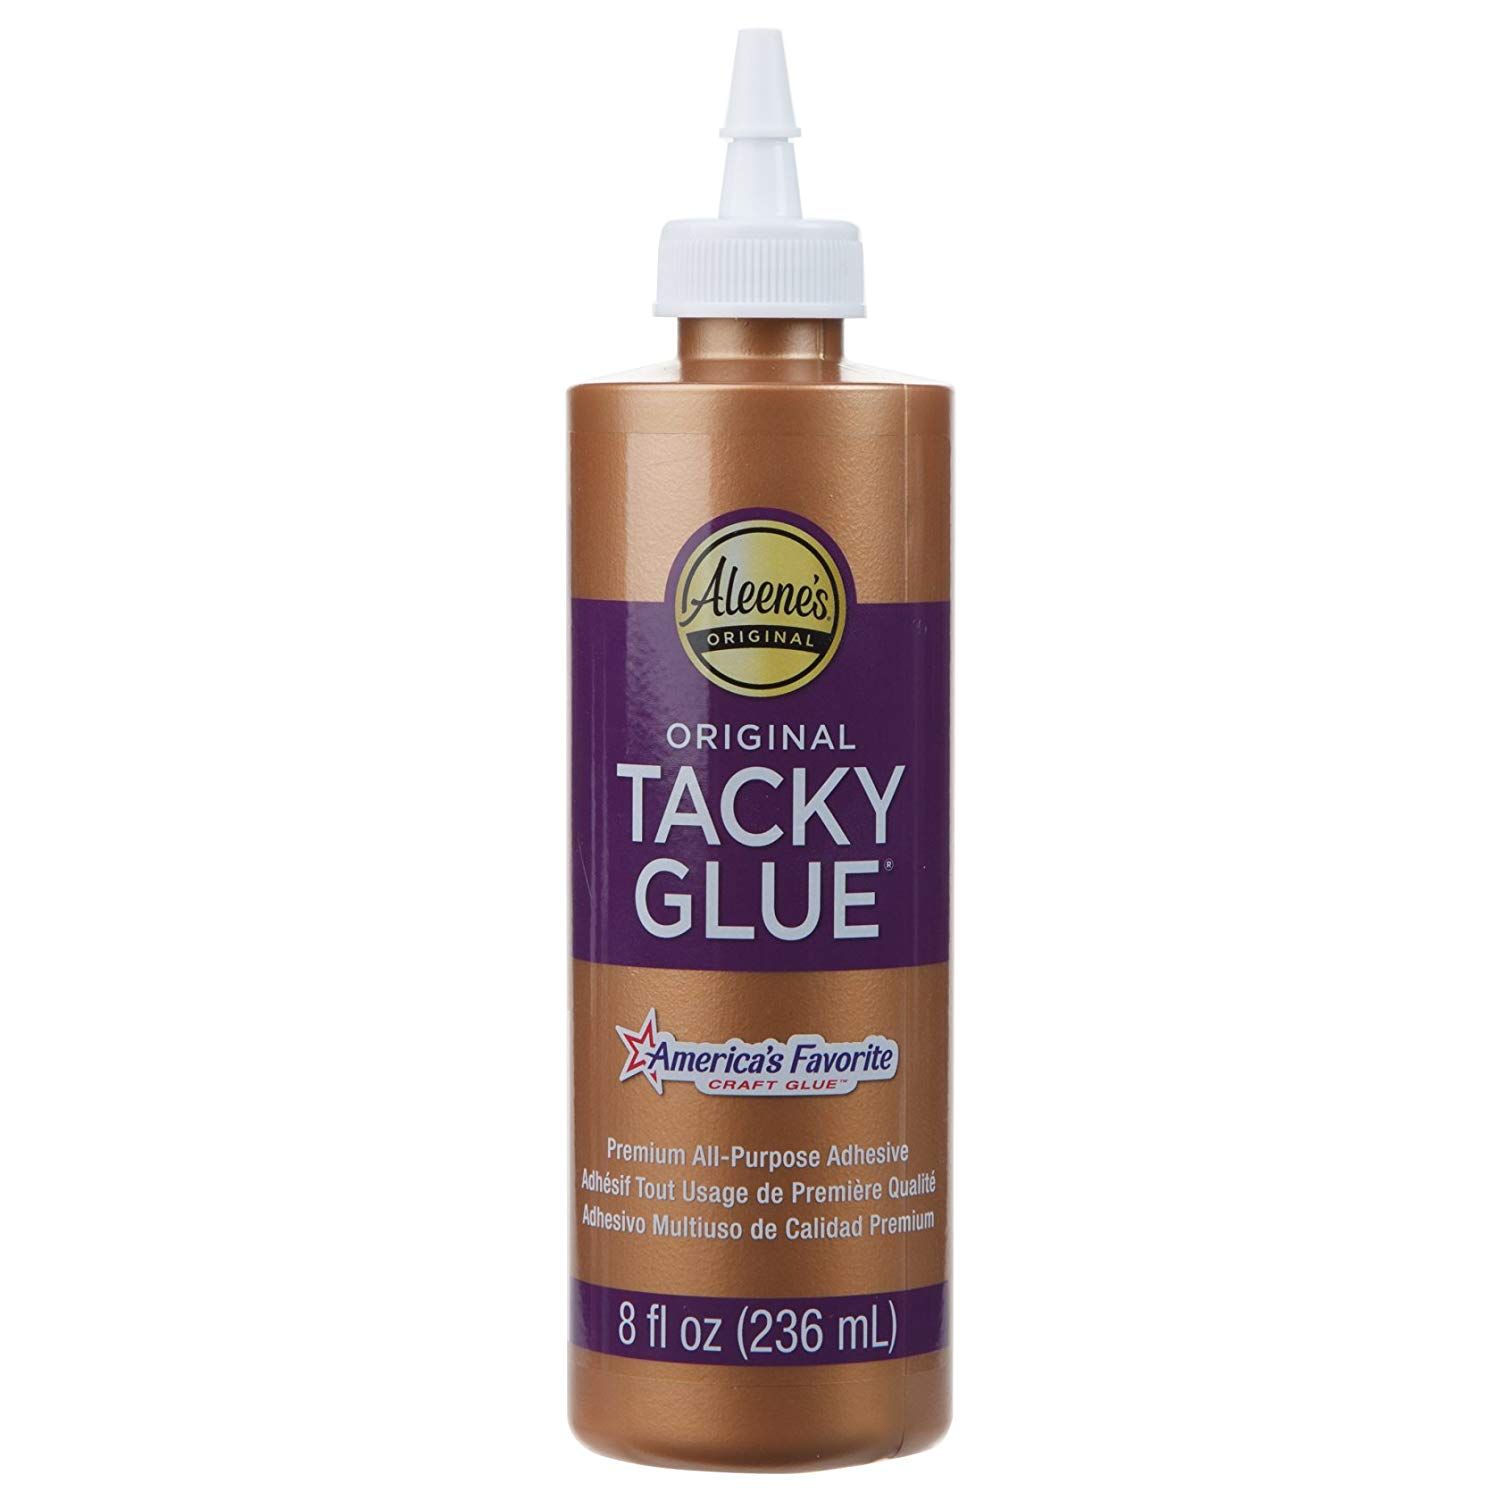
The next thing I recommend is investing in a thick PVC glue, like tacky glue by Aleene's, or thick Alcohol-based glue like UHU by the company with the same name. Elmer's glue can be too watery and can wrinkle the paper, so if you're using that I recommend applying a very thin layer to the tabs without any printed images.

Next, something I recommend a lot is scoring or kiss-cutting wherever you will fold the paper.
For scoring, you can use an empty ballpoint pen or another pointy but not sharp utencil. With the help of a ruller you can trace the fold before cutting. This will make folding much easier.
Kiss-cutting is basically cutting the very upper layer of the paper. I avoid doing this because it makes the papercraft weaker and it can leave white borders on the folds that can give the finished project a less-polished look. Also, you are limited to kiss-cutting only on the side that will be folded down, while with scoring you can fold in any direction and there will be no problems.

Finally, the cutting. It is much simpler cutting after scoring than scoring after cutting.
I recommend using a cutter for big straight cuts and scissors for small ones, like tokens.
Always be careful when handling sharp objects!
For cutters, I recommend always using a ruler to cut. For scissors, move the project around to cut it instead of the scissors.


After all is scored and cut, fold your craft and make a test building it first without glue to make sure you understand what goes where and what to have prepared when gluing.
Finally, Glue!
Glue is one of those things you need to test various brands to see which one works best for your projects.
As I said, I recommend thick glues that dont have a lot of water to prevent bleeding or wrinkling of the paper. You can apply a layer and let it dry slightly before applying to make it tackier, this way it won't separate from the paper in tricky areas.
Finally, let dry! Letting the papercraft dry is key, so please be patient!
Congratulations! You have built your own tabletop craft. If you have any questions dont hesitate to message me here or in any of my socials. I hope this information was useful and see you soon for more tips!

